


There’s something almost magical about autumn. The air turns crisp, the light softens into that golden warmth, and suddenly every hillside, forest path, and quiet lake looks like it belongs on a gallery wall. For landscape photographers, it’s arguably the most exciting time of year — but it’s also fleeting. Those peak colors can come and go in a matter of days, which means preparation and technique matter more than ever.
Whether you’re heading out with a DSLR, a mirrorless camera, or even a high-end smartphone, the difference between a forgettable snapshot and a truly stunning autumn landscape often comes down to a handful of intentional decisions. This guide walks through practical, field-tested tips to help you make the most of fall’s extraordinary color palette.
Understanding Autumn Light and Why Timing Is Everything
One of the first things experienced landscape photographers will tell you is that autumn rewards the early risers — and the patient ones who stick around until dusk. The quality of light during the so-called “golden hours” (roughly the first hour after sunrise and the last hour before sunset) is noticeably warmer and softer than midday sun. During fall, this effect is even more pronounced because the sun sits lower on the horizon throughout the entire day, creating long, dramatic shadows and bathing foliage in a rich amber glow.
Golden Hour vs. Blue Hour in Fall
Golden hour is the obvious choice for shooting vibrant fall colors — the warm tones in the light naturally complement the reds, oranges, and yellows of the leaves. But don’t overlook blue hour, that short window just before sunrise or after sunset when the sky shifts to a deep, cool blue. The contrast between that cool ambient light and the warm tones of autumn foliage can produce images with a moody, almost surreal quality that’s hard to replicate any other time of year.
Cloudy or overcast days are also underrated for autumn photography. Clouds act as a giant diffuser, softening shadows and preventing highlights from blowing out on bright leaves. If you want rich, saturated color without fighting harsh contrast, an overcast morning can actually be ideal.
Choosing the Right Camera Settings for Fall Foliage
Autumn landscapes can be technically tricky to expose correctly, particularly because the bright, warm tones of foliage can fool your camera’s metering system. Here’s how to approach your settings with intention.
Aperture and Depth of Field
For wide landscape shots that showcase expansive forests or rolling hills draped in color, a narrower aperture — somewhere between f/8 and f/16 — will keep the scene sharp from foreground to background. That said, don’t be afraid to open up to f/2.8 or f/4 if you want to isolate a single branch of crimson maple leaves against a soft, blurred background. Both approaches work beautifully in autumn; it just depends on the story you want to tell.
ISO and Shutter Speed
Keep your ISO as low as possible (ideally ISO 100 or 200) to preserve color accuracy and minimize noise — this is especially important when you’re trying to capture the subtlety of fall tones. For still scenes, use a tripod and slow down your shutter speed to maximize detail. If there’s wind, you’ll need to bump up your shutter speed to freeze the motion of leaves — anything around 1/250s or faster should do the trick. A fast shutter speed also comes in handy when shooting waterfalls or streams with fallen leaves drifting through the frame.
White Balance Settings
Shooting in RAW gives you the most flexibility to adjust white balance in post-processing, but it still helps to understand how your in-camera settings affect the look. A slightly warmer white balance (around 5500K–6500K) can enhance the golden quality of autumn scenes, while a cooler setting can tone down overly saturated foliage and give a more natural feel. Experimenting with this is one of the easiest ways to make your autumn images feel distinct rather than generic.
Composition Techniques That Make Fall Photos Stand Out
Strong composition is what separates an okay autumn photo from one that stops people mid-scroll. The season gives you incredible raw material — vivid color, rich texture, dramatic skies — but you still need to organize those elements thoughtfully within the frame.
Use Leading Lines
Winding paths, rivers, fences, and country roads are some of the most powerful compositional tools available in autumn landscapes. These natural leading lines draw the viewer’s eye into the frame and create a sense of depth and journey. A forest trail carpeted in golden leaves curving into the distance is a classic for good reason — it’s emotionally compelling and visually satisfying.
Look for Reflections
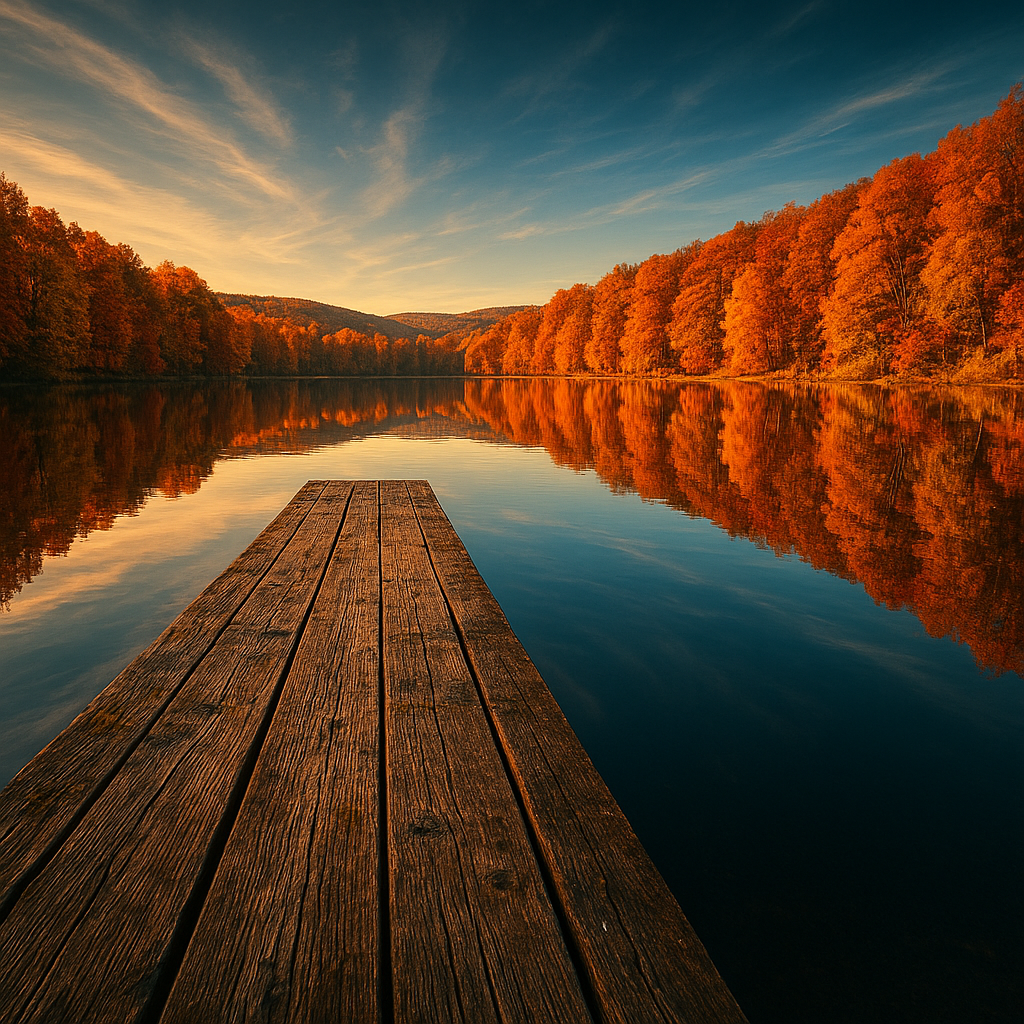
Still lakes and ponds become extraordinary during autumn because they mirror the surrounding foliage, effectively doubling the color in your frame. Early morning, before any wind picks up, offers the calmest water and the most perfect reflections. This is one of those techniques that consistently produces images that feel like paintings rather than photographs.
Include a Strong Foreground Element
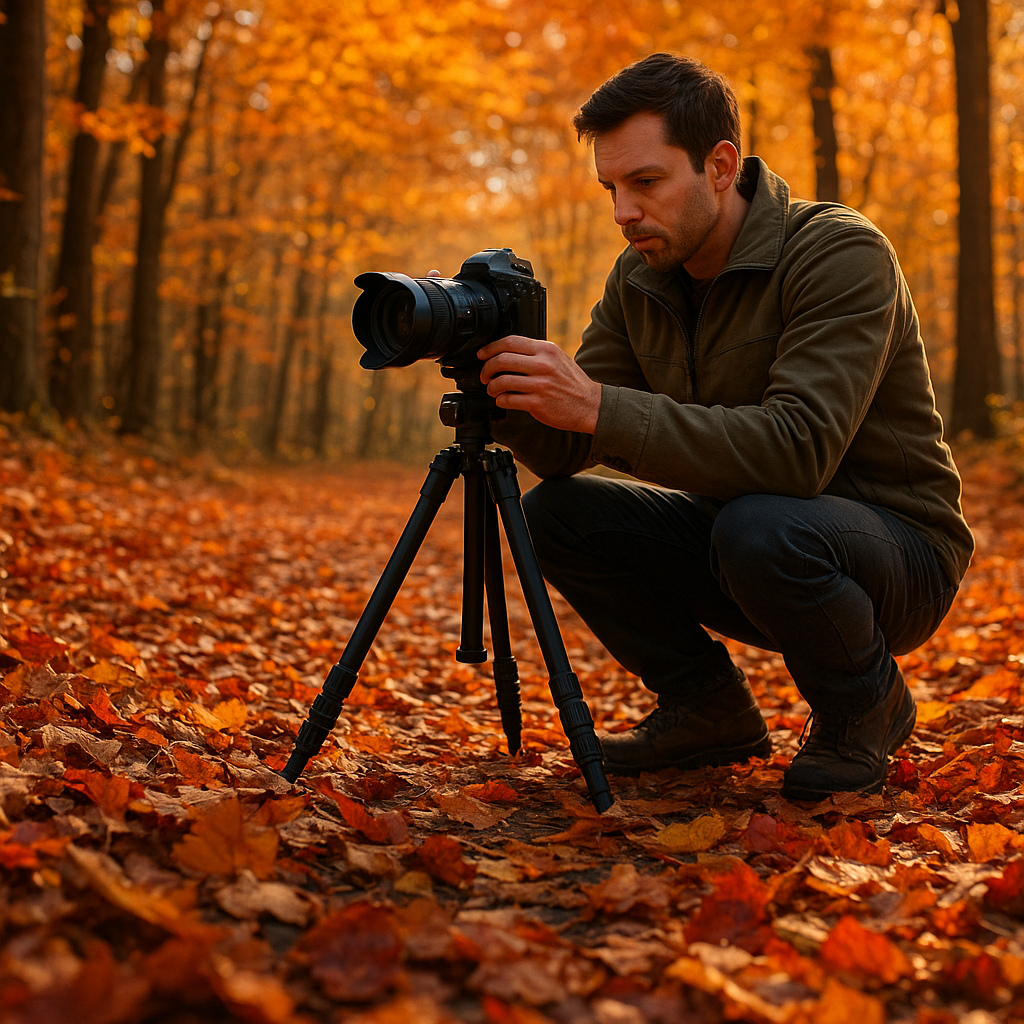
One of the most common mistakes in landscape photography is neglecting the foreground. A compelling foreground element — a cluster of fallen leaves, a mossy log, a frost-covered fern — adds dimension and pulls viewers into the scene. Get low with your camera and experiment with different angles to see how including something in the immediate foreground changes the feel of the shot.
Frame Within a Frame
Use natural frames like tree branches, archways of foliage, or gaps in rock faces to draw attention to your main subject. This technique adds layers to an image and creates a sense of place that flat, unframed compositions often lack. A mountain peak glimpsed through a canopy of orange and red leaves, for example, feels more intimate and immersive than a wide open shot of the same peak.
Finding the Best Locations for Autumn Landscape Photography
Peak fall color isn’t universal — it varies enormously by region, elevation, and even specific microclimate. In the northeastern United States, peak foliage typically arrives between mid-September and late October, with higher elevations turning first. The Blue Ridge Parkway in Virginia and North Carolina, the White Mountains of New Hampshire, and the Adirondacks in New York are consistently stunning. In the Pacific Northwest, areas around Mount Rainier and the Columbia River Gorge offer dramatic fall color against a backdrop of mountains and waterfalls.
For those who want to capture autumn at home without traveling far, even suburban parks, arboretums, and tree-lined streets can yield beautiful images. The key is scouting your locations in advance — visit during daylight to identify interesting compositions, check the angle of light at the time you plan to shoot, and note any obstacles or distractions that might affect your framing.
Apps and Tools for Tracking Peak Foliage
Timing your visit to coincide with peak color is critical. Several apps and websites help track foliage conditions in real time. The Smoky Mountains’ foliage tracker, the USDA Forest Service reports, and community apps like iNaturalist offer valuable insights. Weather apps like PhotoPills or The Photographer’s Ephemeris are invaluable for planning around golden hour, sunrise, and sunset times at specific locations.
How to Edit Fall Photos for Maximum Impact
Even the best in-camera exposure benefits from thoughtful post-processing. Editing autumn photos isn’t about adding what isn’t there — it’s about revealing what the camera sometimes fails to fully capture.
Color Grading for Autumn Tones
In Lightroom or Camera Raw, the HSL (Hue, Saturation, Luminance) panel is your best friend for autumn editing. Boosting the saturation of oranges and reds slightly (not excessively) brings out the richness of fall foliage without making the image look artificial. Shifting the hue of yellows slightly toward orange can unify the warm tones in the scene. Pulling down the luminance of oranges and reds adds depth and prevents leaves from looking washed out.
Contrast, Clarity, and Texture
Adding a moderate amount of clarity and texture in post can dramatically enhance the detail in bark, fallen leaves, and rocky terrain — all common elements in autumn landscapes. Be careful not to overdo it, as heavy clarity adjustments can create an unnatural, crunchy look. Aim for subtle enhancement rather than dramatic transformation.
Sky Replacement and Masking
Sometimes a beautiful autumn scene is let down by a flat, blown-out sky. Modern editing software like Lightroom and Photoshop offer powerful masking and sky replacement tools that can make a real difference. Alternatively, shooting with a graduated ND filter in the field can balance the exposure between sky and land, reducing the need for heavy editing later.
Practical Gear Tips for Shooting in Autumn Conditions
Autumn weather can be unpredictable — crisp mornings, afternoon rain, early frosts, and everything in between. A few gear considerations go a long way toward keeping your shoot productive.
- Bring a sturdy tripod: Essential for low-light golden hour shots and any long-exposure work near water.
- Use a polarizing filter: A circular polarizer reduces glare on wet leaves and deepens the blue of a fall sky dramatically — it’s one of the few effects that genuinely can’t be fully replicated in post-processing.
- Pack extra batteries: Cold temperatures drain camera batteries faster than you’d expect. Always carry at least one fully charged spare.
- Weather sealing matters: If your camera and lenses have weather sealing, autumn is when you’ll appreciate it most. Morning dew, light rain, and high humidity are all common — protect your gear accordingly.
- Wear layers: Getting the shot often means standing still in cold air for extended periods. Dress warmly enough to stay focused on photography rather than comfort.
Common Mistakes to Avoid in Autumn Landscape Photography
- Shooting only at midday: Harsh midday light flattens color and creates unflattering shadows. Plan your shoots around golden hour whenever possible.
- Ignoring the background: Vivid fall foliage is beautiful, but a cluttered or distracting background can undermine even the best foreground composition. Simplify where you can.
- Over-saturating in editing: It’s tempting to push those autumn colors to their absolute maximum, but oversaturation quickly makes images look garish and unrealistic. Less is often more.
- Missing the peak window: Peak color can last as little as one to two weeks in many regions. Track forecasts, check foliage reports, and be ready to move quickly when conditions align.
- Forgetting to look up — and down: The canopy above and the leaf-covered ground below are both photographic gold. Don’t get so fixated on the eye-level view that you miss the extraordinary detail at your feet or the drama overhead.
Wrapping Up: Making the Most of Autumn’s Short Window
Autumn is a season that rewards photographers who plan ahead, get up early, and pay attention to the details that casual observers walk past. The light, the color, the texture, and the atmosphere all come together in a way that’s genuinely unique to this time of year — and it doesn’t last long.
The core principles to keep in mind: shoot during golden and blue hours for the most flattering light, use strong compositional tools like leading lines and foreground interest to add depth, manage your camera settings deliberately to preserve color accuracy, and take the time to edit thoughtfully rather than aggressively. Scout your locations in advance, track the foliage conditions in your area, and don’t underestimate the value of cloudy days or a perfectly still lake at dawn.
Most importantly, get out there before the leaves fall. The calendar moves fast in autumn, and the photographers who come home with the most memorable images are almost always the ones who showed up prepared, stayed patient, and kept looking for the shot even when the obvious ones had already been taken.